Running a Local AI Inside Obsidian with Ollama

What if your notes could think with you, without sending a single word to the cloud? We’ll build a fully local AI setup inside Obsidian using Ollama and the open Gemma 4 model. You’ll install and test Ollama from the command line, connect it to Obsidian with community plugins, and use it for everyday note-taking, while keeping full control over your data.
Why Local AI in a Notes App?#
First, what is and isn’t open source in this setup, and why it still fits open source values.
Obsidian is an application that lets you create and manage notes as plain text Markdown files stored locally on your devices.
Obsidian isn’t open source itself, but it supports open source community plugins, and it’s local-first:
- Notes are plain Markdown files
- Stored on your own filesystem
- No mandatory account or cloud dependency
- Easy to migrate, back up, or process with other tools
That reduces vendor lock-in. Even without Obsidian, your knowledge remains usable.
Ollama is an open source tool that lets you run AI models locally on your machine:
- Runs open models locally
- Exposes a local HTTP API
- Requires no internet once models are installed
- Never sends your data elsewhere
Together, Obsidian and Ollama make a combination that fits open source values: local notes, local AI for privacy, and knowledge work you control.
What We’ll Build#
By the end of this article, you’ll have:
- Ollama installed and verified from the command line
- The Gemma 4 model running locally
- Obsidian configured with community plugins
- A fully local AI assistant embedded in your notes
Everything described below has been tested using Gemma 4 with Ollama.
This guide assumes Obsidian is already installed. If it isn’t, download it from obsidian.md.
Step 1: Install and Test Ollama (Command Line First)#
-
Install Ollama from the official site at https://ollama.com, or on macOS via
curl -fsSL https://ollama.com/install.sh | sh -
Verify the installation by running in your terminal:
ollama --versionThe output should show the installed version of Ollama.
-
Pull and run the Gemma 4 model with:
ollama run gemma4Once the model is downloaded, you’ll get an interactive prompt. Test it with:
Explain what a local-first application is in one paragraph.If you receive a response, everything is working correctly.
-
Exit the chat with the command:
/bye -
Ollama also starts a local API server at http://localhost:11434.
Opening this URL in your browser will show the “Ollama API is running” message. This endpoint is what Obsidian will use next.
Step 2: Install the Required Obsidian Community Plugins#
To connect Obsidian to Ollama, you’ll need two open source Obsidian community plugins created by Pavel Frankov:
- AI Providers
- Local GPT
 pfrankov/
obsidian-local-gptLocal Ollama and OpenAI-like GPT's assistance for maximum privacy and offline access
pfrankov/obsidian-ai-providersThis plugin is a hub for setting AI providers (OpenAI-like, Ollama and more) in one place.
AI Providers#
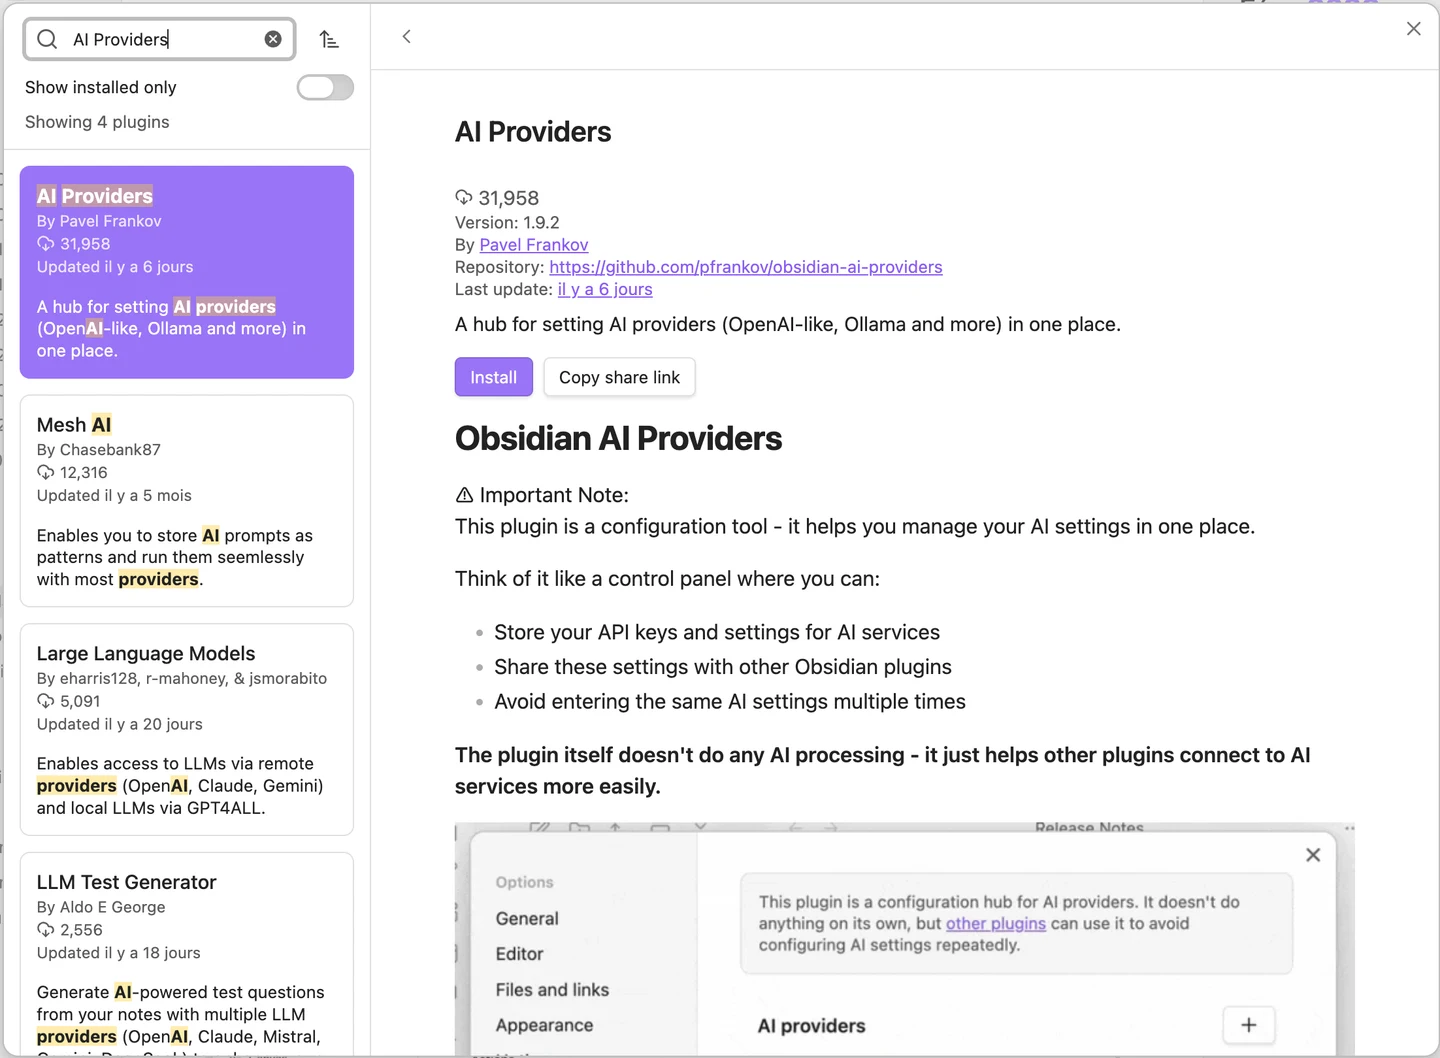
Let’s start by installing the AI Providers plugin.
-
In Obsidian, go to “Settings → Community Plugins → Browse” and search for “AI Providers”.
-
Click “Install”, then “Enable” to enable the plugin.
-
Click “Options” to configure the plugin:
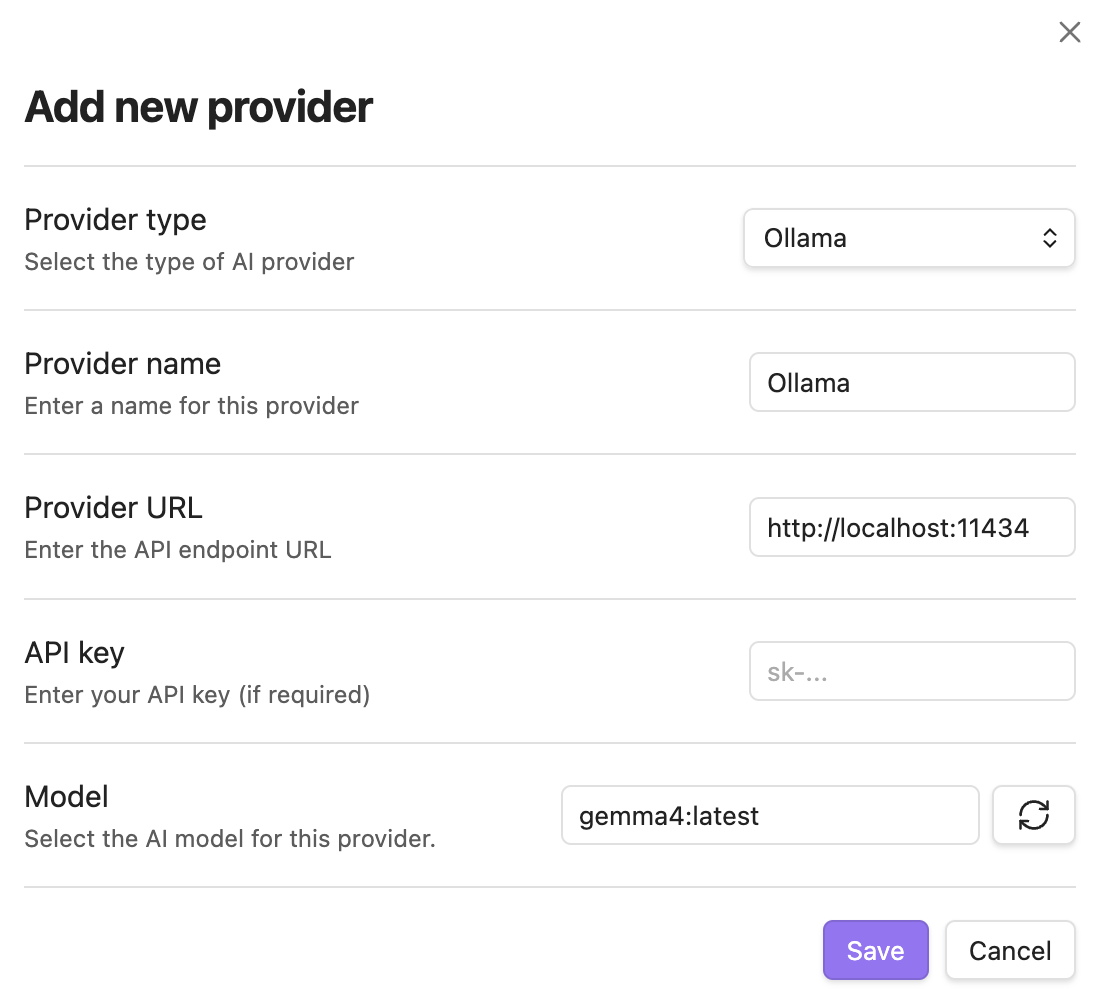
- In the “AI providers” section, click “+” to add a new provider.
- In the “Add new provider” dialog:
- Select “Ollama” as the provider type.
- Click on the refresh icon of the “Model” field to fetch Gemma 4 from your local Ollama installation.
- Click “Save” to add the provider.
Local GPT#
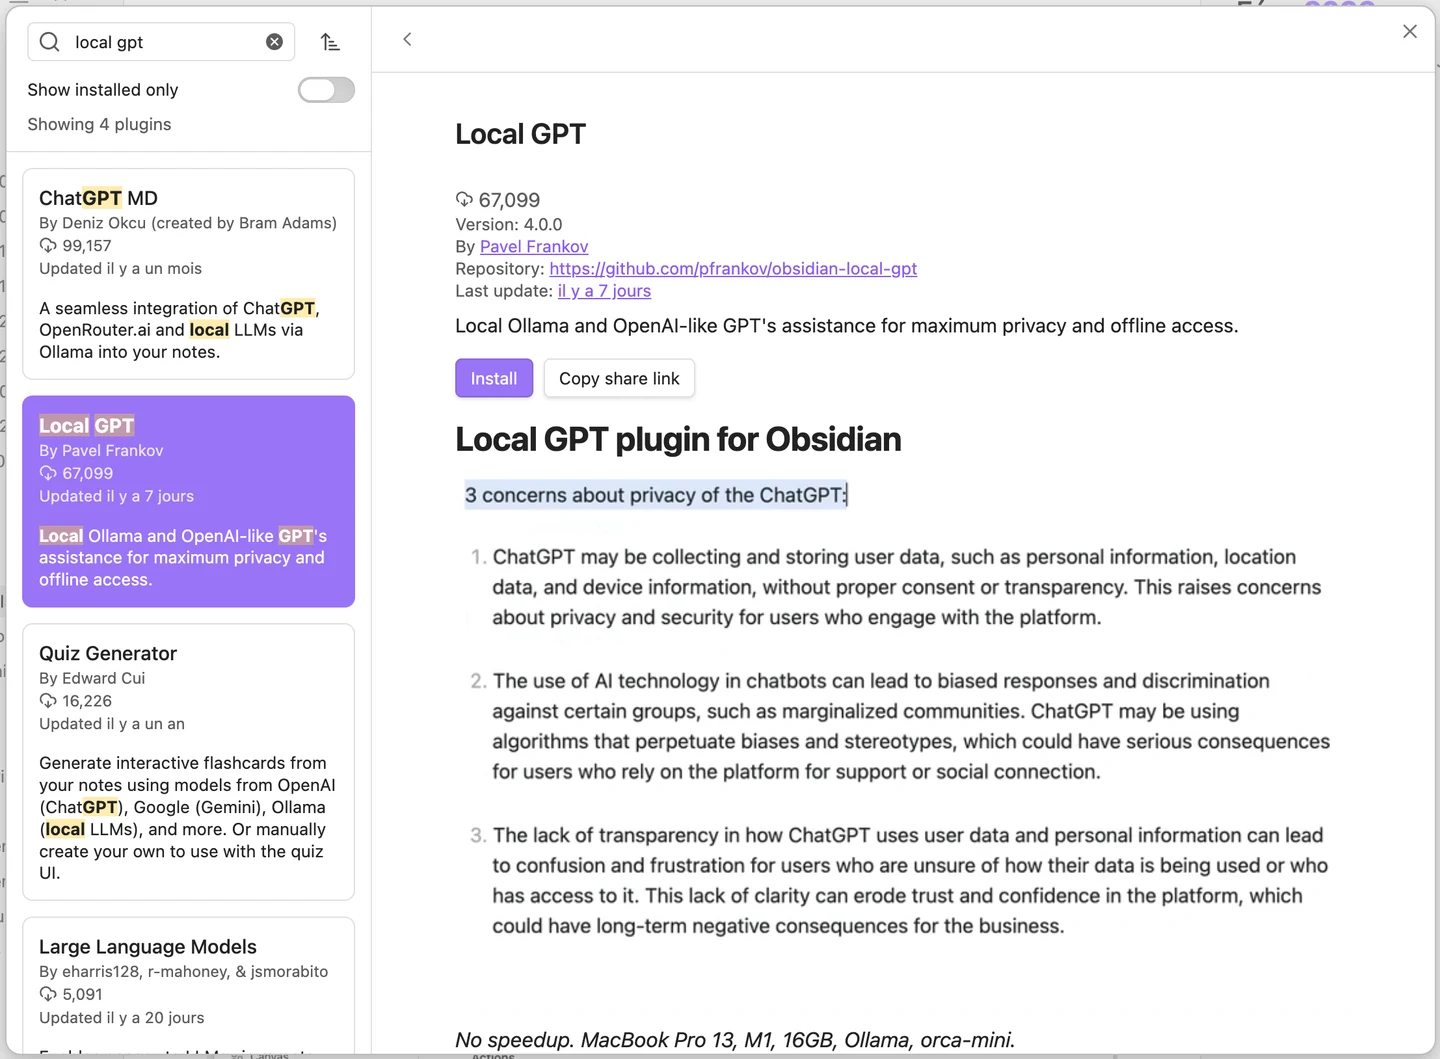
Then, install the Local GPT plugin.
-
In Obsidian, go to “Settings → Community Plugins → Browse” and search for “Local GPT”.
-
Click “Install”, then “Enable” to enable the plugin.
-
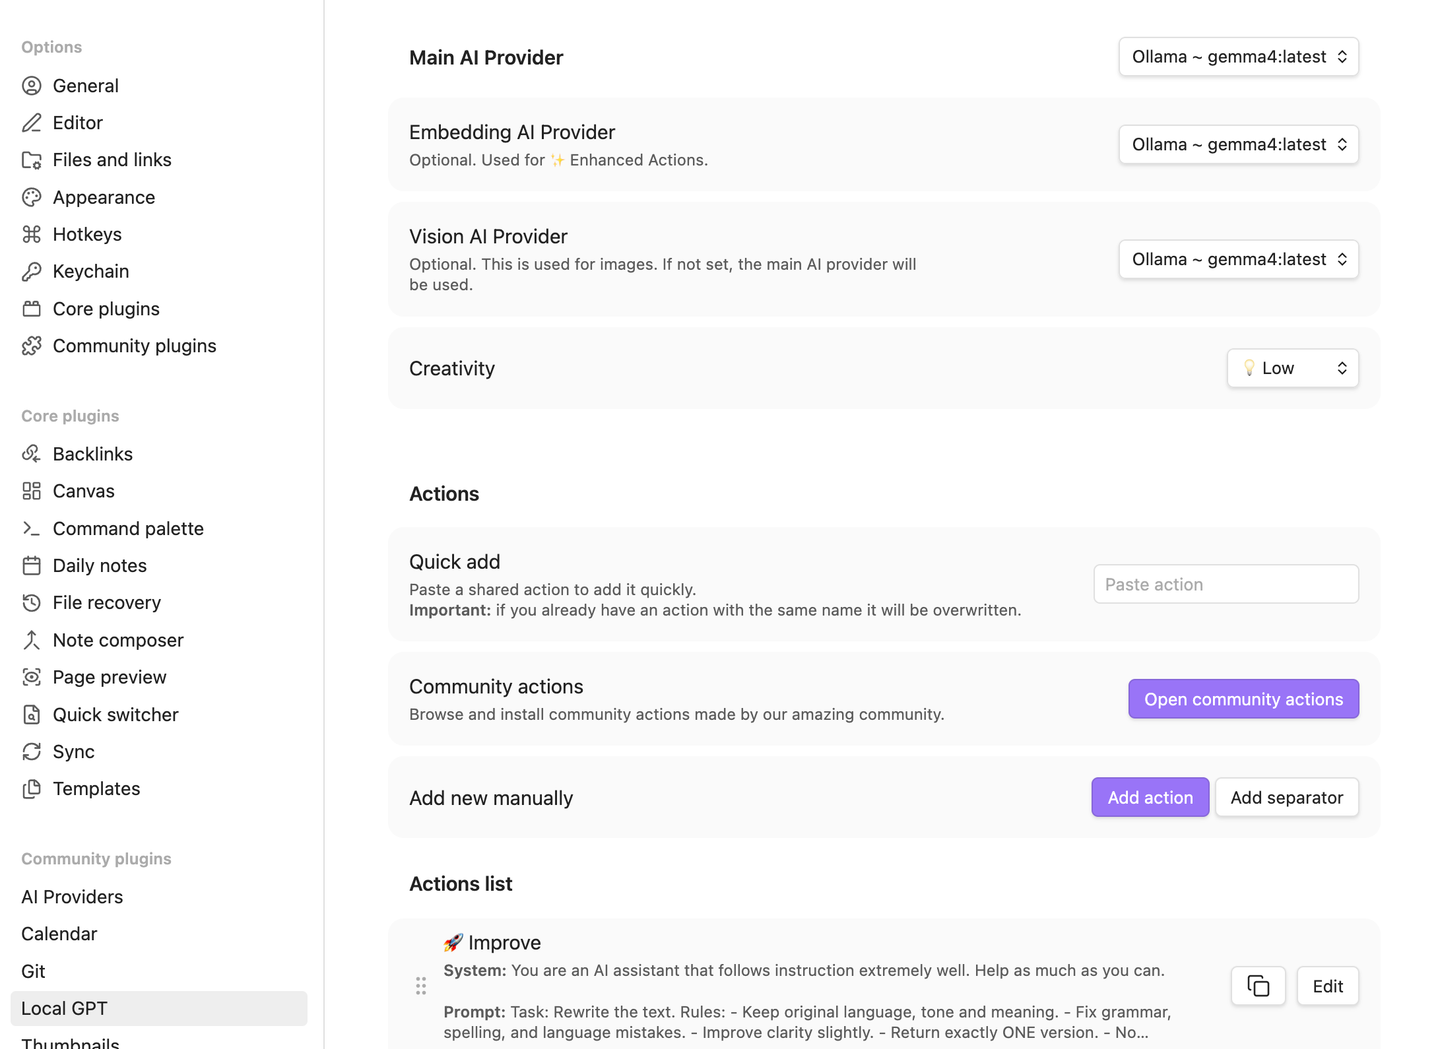
Click “Options” to configure the plugin:
- In the “Main AI Provider”, “Embedding AI Provider”, and “Vision AI Provider” sections, select “Ollama ~ gemma4:latest” from the dropdown.
Step 3: Attach Hot Keys for Quick Access#
To quickly access Local GPT features, set up hot keys in Obsidian.
-
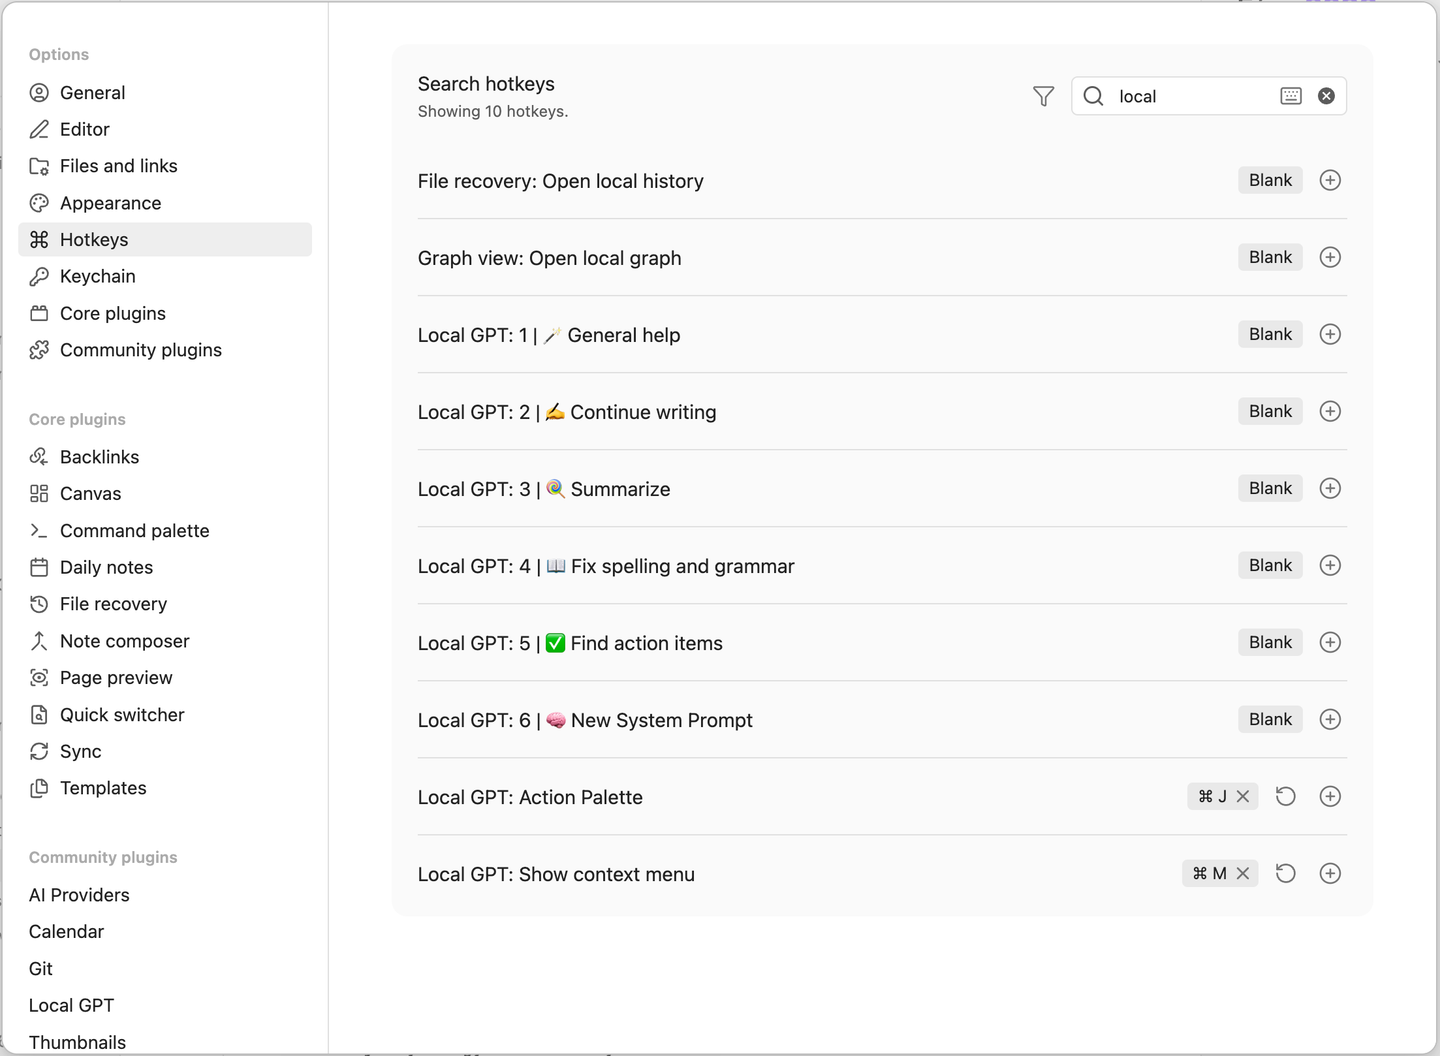
In Obsidian, go to “Settings → Hotkeys”.
-
Filter by “Local”.
-
Assign hot keys to the following commands:
- For “Local GPT: Action Palette”, click on “+” and press your desired key combination (e.g., ⌘ + J).
- For “Local GPT: Show context menu”, click on “+” and press your desired key combination (e.g., ⌘ + M).
Step 4: Test Local GPT Inside Obsidian#
Everything is set up, so let’s test Local GPT inside Obsidian. You have two hot keys: one for the action palette and one for the context menu.
Using the Context Menu#
The context menu is a quick way to apply AI actions to selected text.
-
Open any note in Obsidian.
-
Select some text you want to process with AI.
-
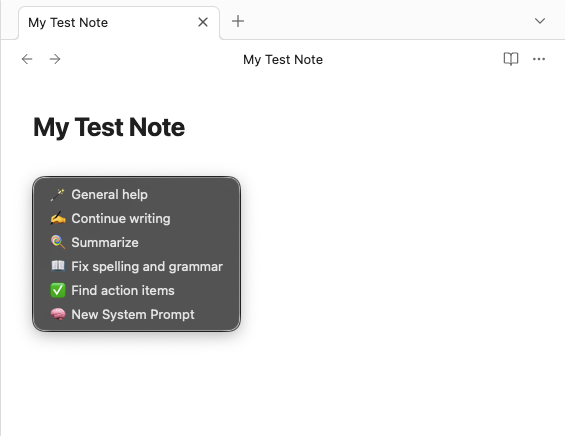
Press the hot key you assigned for “Local GPT: Show context menu” (e.g., ⌘ + M). It will open a context menu with various AI actions you can perform on the selected text:
- General help
- Continue writing
- Summarize
- Fix spelling and grammar
- Find action items
- New System Prompt
You can create your own custom prompts as well.
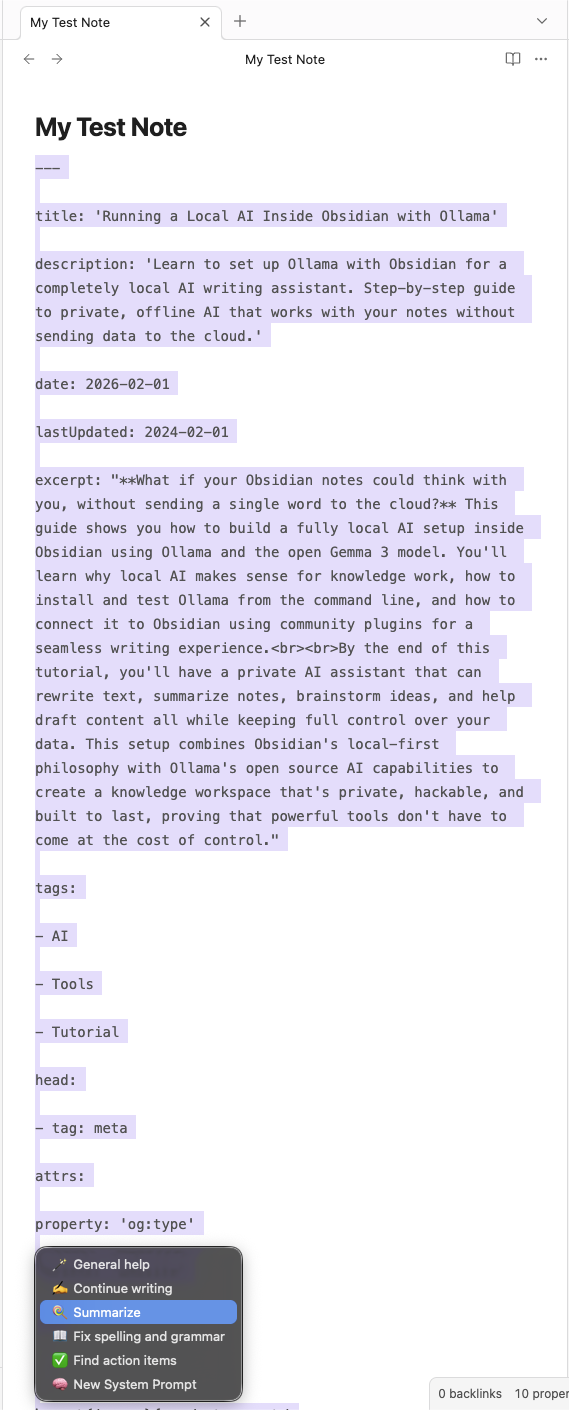
Say I wrote this article in Obsidian first and wanted a summary. I’d select the text and choose “Summarize” in the context menu.
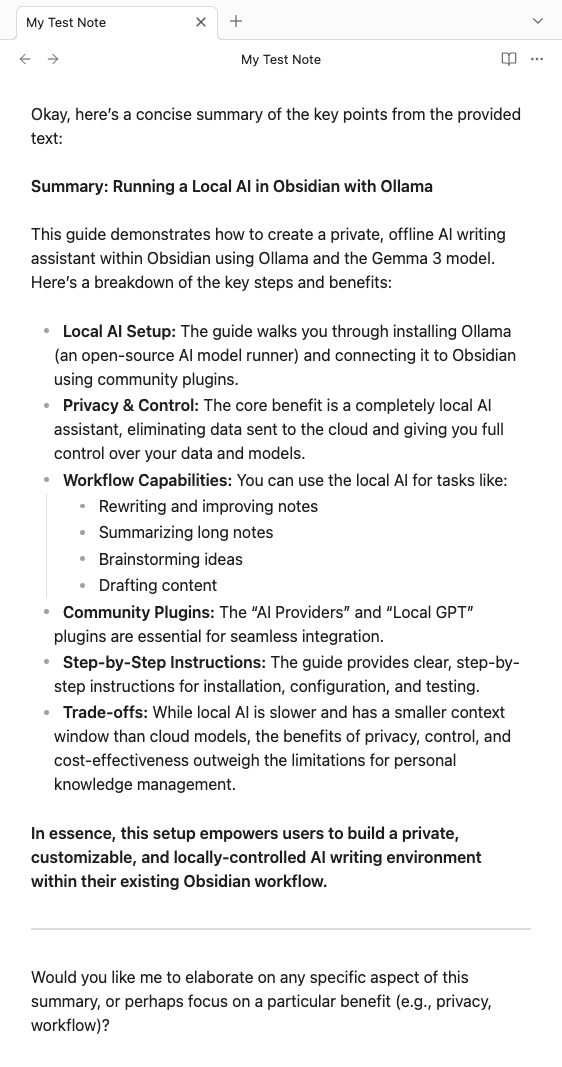
Gemma 4 then writes a concise summary of the selection at the end of my note (this can be configured).
Using the Action Palette#
The action palette lets you type custom prompts and interact with Local GPT more freely.
- Open any note in Obsidian.
- Press the hot key you assigned for “Local GPT: Action Palette” (e.g., ⌘ + J). It will open the action palette where you can type your prompt.
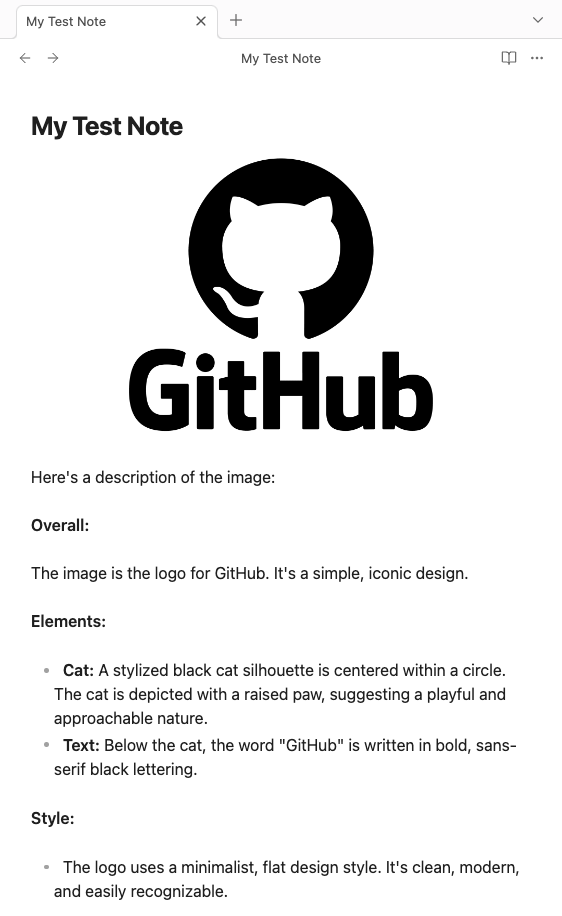
Say I want to describe an image. I’d select it in my note, open the action palette, and type: “Describe this image!”
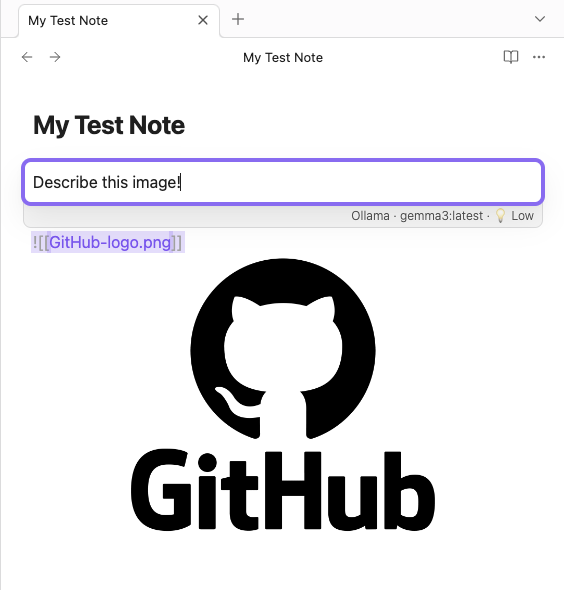
The model then writes a description of the image in my note.
Everyday Use Cases That Actually Feel Useful#
I’ve only scratched the surface of this setup, but it’s useful for specific tasks. Gemma 4 works well for close-to-the-text stuff: cleaning up messy first drafts, turning rambling meeting notes into actual bullet points, or getting a quick summary when I don’t want to reread a long note.
Response times are decent for most tasks. It isn’t instant, but it’s fast enough to keep you in the flow.
Where I use it most is rewriting awkward sentences, expanding bullet points when I need more detail, or brainstorming different ways to phrase something. It’s also surprisingly good at catching unclear writing that I might miss.
But it definitely has limits. It can’t access other notes in my vault (just the current one), struggles with complex reasoning, and sometimes gives generic responses if your prompt is too vague. I’m also not sure how well it handles really technical content as I’ve had mixed results there.
The key thing I’ve learned is that it works best as an editing partner for stuff you’ve already written, rather than generating ideas from scratch.
Maybe a stronger setup could mix local and cloud models, using local for sensitive stuff and cloud for heavy lifting when needed. But for now, this local-first approach feels like a solid step toward more private, controllable AI in my writing workflow.
Trade-Offs (And Why They’re Worth It)#
Local AI isn’t perfect:
- Slower than cloud-hosted models
- Smaller context windows
- Less immediate “wow” factor than other cloud paid systems
But in exchange, you get:
- Privacy by default
- Zero marginal cost
- Full control over models and prompts
- No vendor dependency or platform lock-in
For personal knowledge management and everyday writing, that trade-off is often desirable.
If you try this setup, share your experience, tips, or custom workflows on our social platforms.
Happy note-taking!